In case you missed last week's blog post about my own diy wall gallery, you can read that here.
In this week's blog post, I am going to walk you through the process of making your own wall gallery of your family - step by step.
Step One. So, you have a wall in your home that is the perfect space for showcasing your family's portraits. It's a wall that is a focal point in your home. It's a wall which friends and family love to look at when they visit. Some people like their photographs to be very organized, while others just like to throw them on the wall. Whichever your style is, there is a wall gallery design for you. The great thing about wall galleries is that there is no wrong way to put one together. It is YOUR wall gallery - your vision. Where is your wall? What colors surround this area?
Step Two. Now that you have the wall picked out, what type of layout do you want? What layout appeals to you and showcases your portraits in a way that pleases you? There are many ideas online that you can use to find ideas or you can come up with your own. Consider the size of the wall. Does it have more of a horizontal or vertical layout?
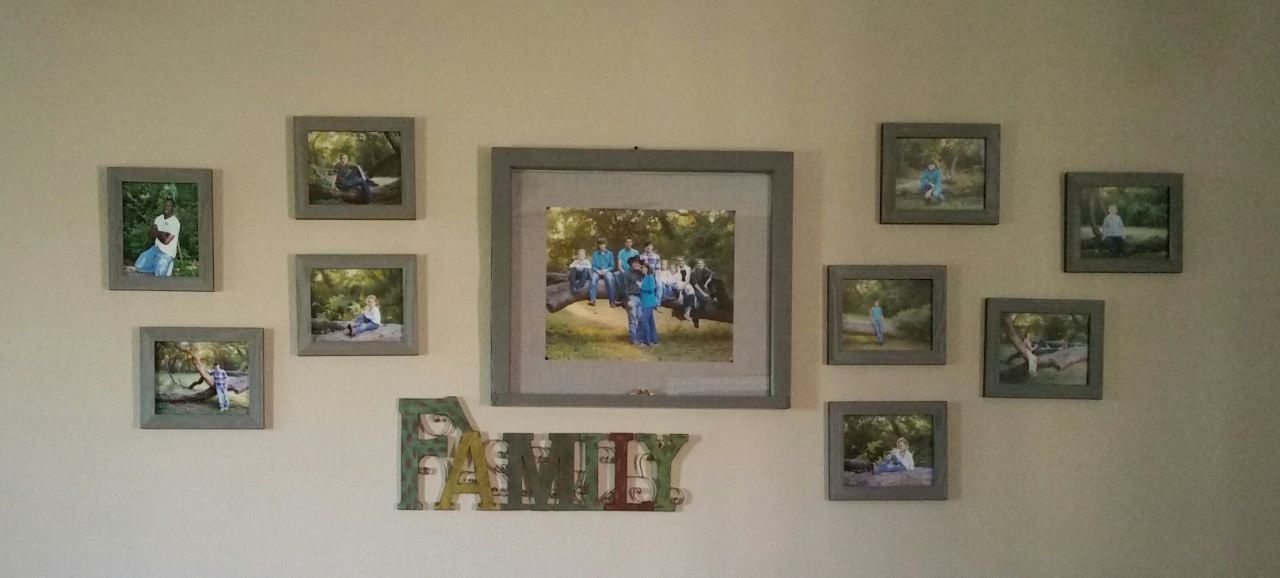
Step Three. You're making good process with your wall gallery by now and you have a pretty good idea as to what it will look like when it's all said and done. But there's one more thing to consider with regards to the layout. Do you want this space to include other pieces of artwork, such as metal art, other framed art, mirrors, quotes, etc? If so, how do you want to incorporate those into your gallery?
Step Four. Now it's time to decide which portraits you'd like to include in your wall gallery and are there any that you want to be the main focal point of the wall, such as a family portrait. This main portrait should be larger than the others so that it is the main focus. Consider a piece that is at least 16x20 in size. Anything smaller, such as an 8x10, means that your other supporting portraits will more than likely be smaller and they will be too small on the wall. You want visitors to be able to SEE your family without having to pull out a magnifying glass or getting right up to the wall. They should be able to see the portraits from a distance.
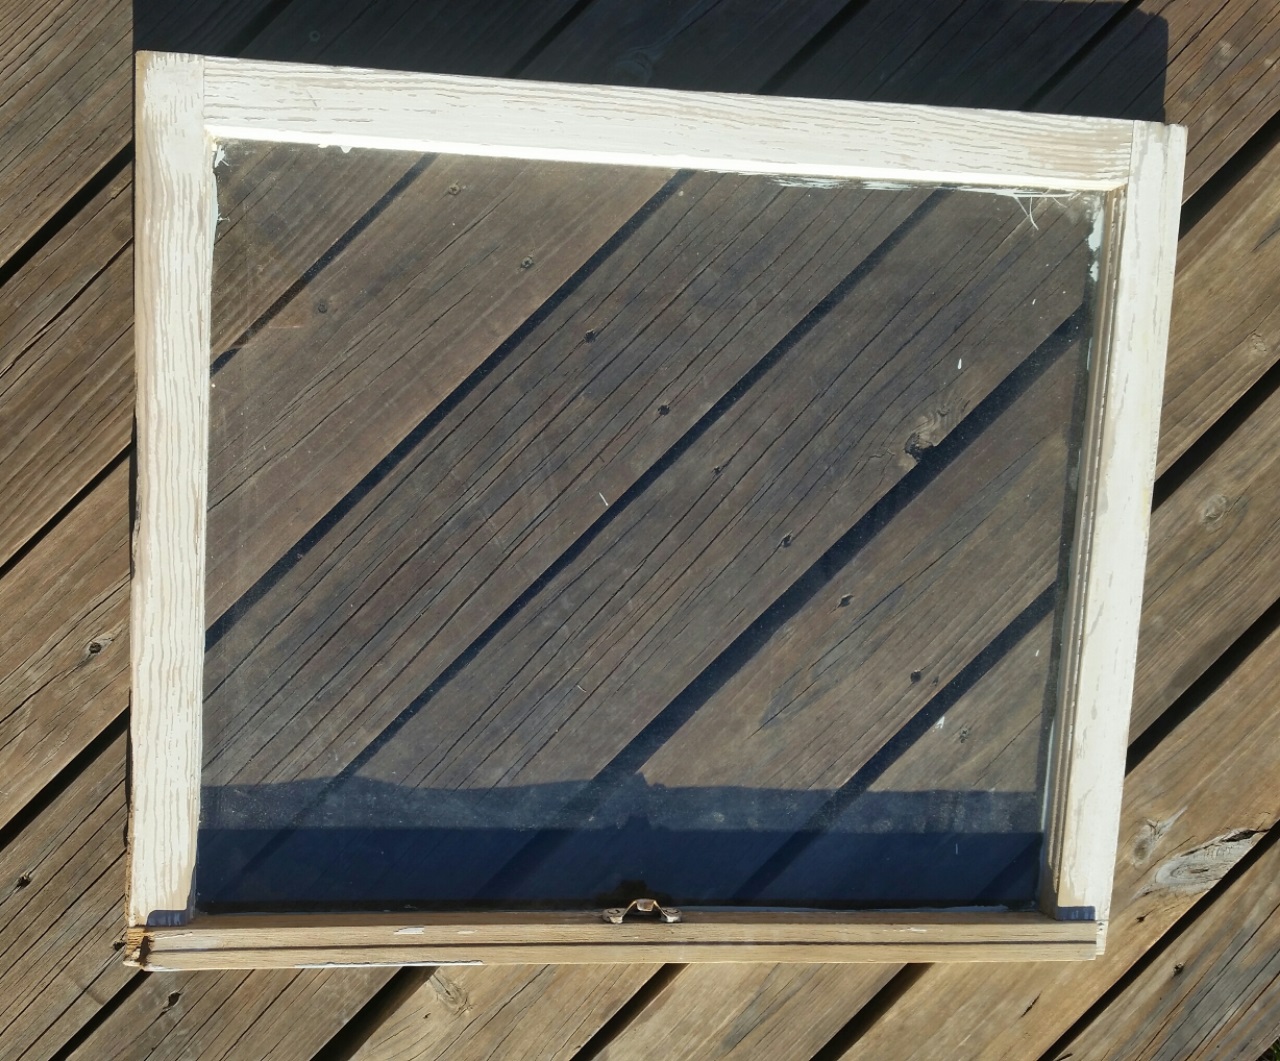
Step Five. You have the layout, design, and portraits chosen. Now to consider the frames you'd like to use. Don't be afraid to think out of the box with this step! There are so many unique ideas for frames. You can use old wooden windows, make your own with barn wood, embellish the frame with various items, custom paint a frame, etc. The sky is seriously the limit!
Step Six. It's time to hang your portraits on the wall! Many store bought frames use sawtooth hangers. If you make your own frame(s), I suggest using a wire hanger. It is much easier to hang and straighten on the wall.
Step Seven. Stand back and admire your beautiful family!
For more reading about diy wall galleries, check out this board on Pinterest.
If you make your own wall gallery, I'd LOVE to see a photo of it!


