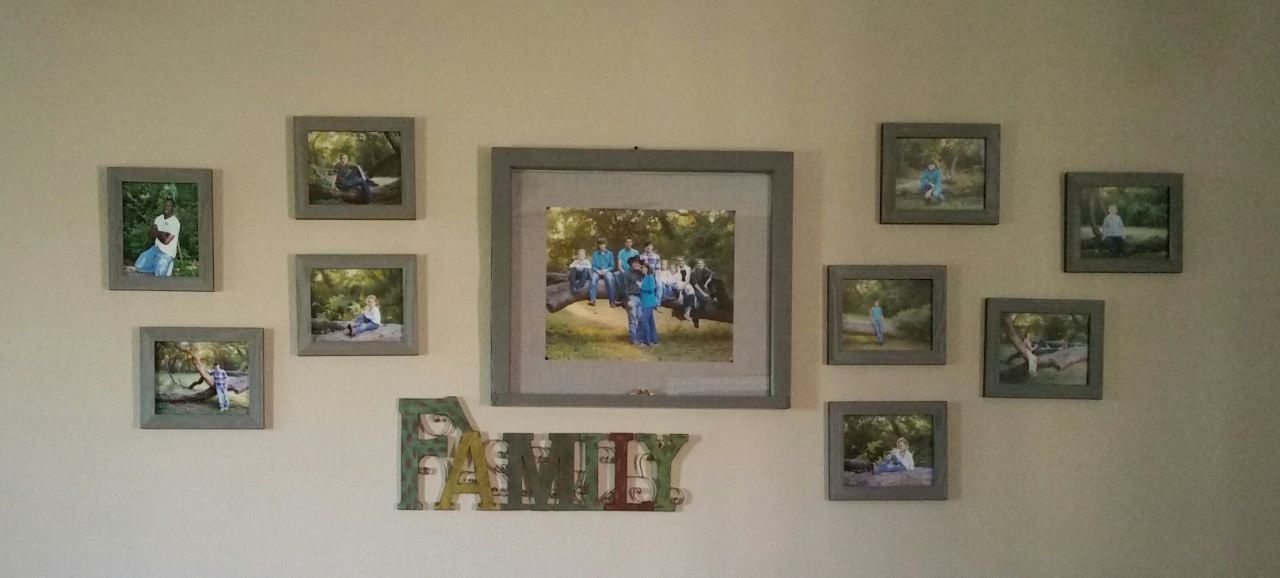
We had our family portraits taken in September. I had them printed with the idea of creating a beautiful wall gallery to show off my family. I looked and looked at TONS of wall gallery ideas and just when I would choose one, I'd second guess myself. I just couldn't find something that I absolutely loved, that is until I went to the Jewett Flea Market.
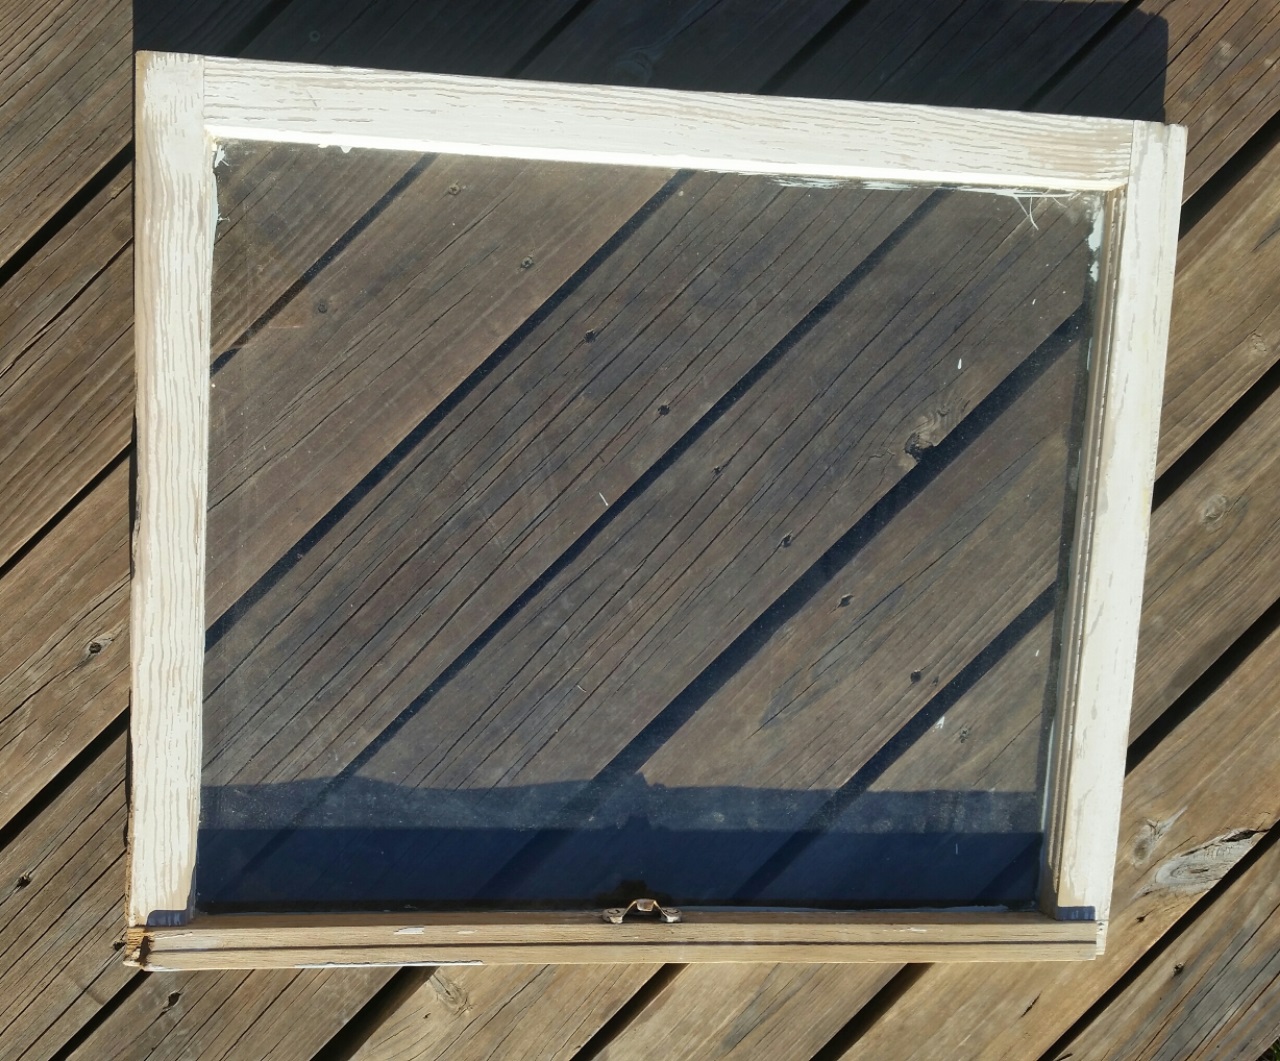
As my husband and I were walking through the flea market, we stumbled upon a vendor that had a large assortment of old windows. I immediately had an idea! An old window would make a beautiful and unique frame for our large family portrait that I had printed. I looked at every window there and found one that I loved and my husband had to make sure it was the right size - since he's the one that's good at math!
I began thinking of how this wall gallery would look. I knew I wanted the large family portrait as the focal point of the wall, but we also have 9 kiddos between us. I knew I wanted each child to have their individual portrait framed surrounding the large family portrait.
I now had a rough idea as to what I wanted the wall gallery to look like, but what color would I want this gallery to be? After all, the wooden window frame had to be sanded and painted. I considered the decor and colors of our living room and furniture. I needed the gallery to coordinate with those colors. I decided on a dark gray color. I found gray barn wood frames at Michael's craft store on sale.
Now that I had the individual 8x10 frames for the kids' portraits, I had to get the wooden window prepped and painted for the family portrait. I began by sanding the wooden window to remove the flaking white paint. After the window was sanded, I taped off the glass to keep most of the spray paint from getting on the it. I had to paint the window with three coats for even coverage. After the paint was dry, I removed the tape and had to scrape the glass with a razor blade to remove the over-spray from the spray paint, as well as the old white paint that was splattered on the glass originally.
I had the window, I had the 16x20 print, but I still needed a mat for this frame. I know I did not want a plain white mat for this frame. A white mat just seemed so "right" and I wanted something unique. I decided to use fabric for the mat. I bought one yard of fabric that was gray with a slight texture, nothing that would be too busy and take away from the portrait. I used posterboard for the backing and wrapped the fabric around that so I could place the portrait in the window.
The last step in putting the wall gallery together was to find a sign of some sort that would pull it all together. I looked at three stores, but found what I was looking for at Hobby Lobby. I am so in love with this wall gallery!
Check back next week for the second part to this blog post, a step by step guide to making your own wall gallery on a budget.


